This guide walks you through using Git to track changes in your projects with a handful of essential commands. Git creates clean snapshots of your work and maintains a complete history of modifications. If you've ever edited a file, introduced a bug, and wanted to roll back, version control solves that problem by preserving every change you make.
You'll configure Git on your local machine and learn the fundamental workflow from the command line while working with a Python project. When you finish, you'll have a functioning Git repository with a documented commit history that you can review and control:
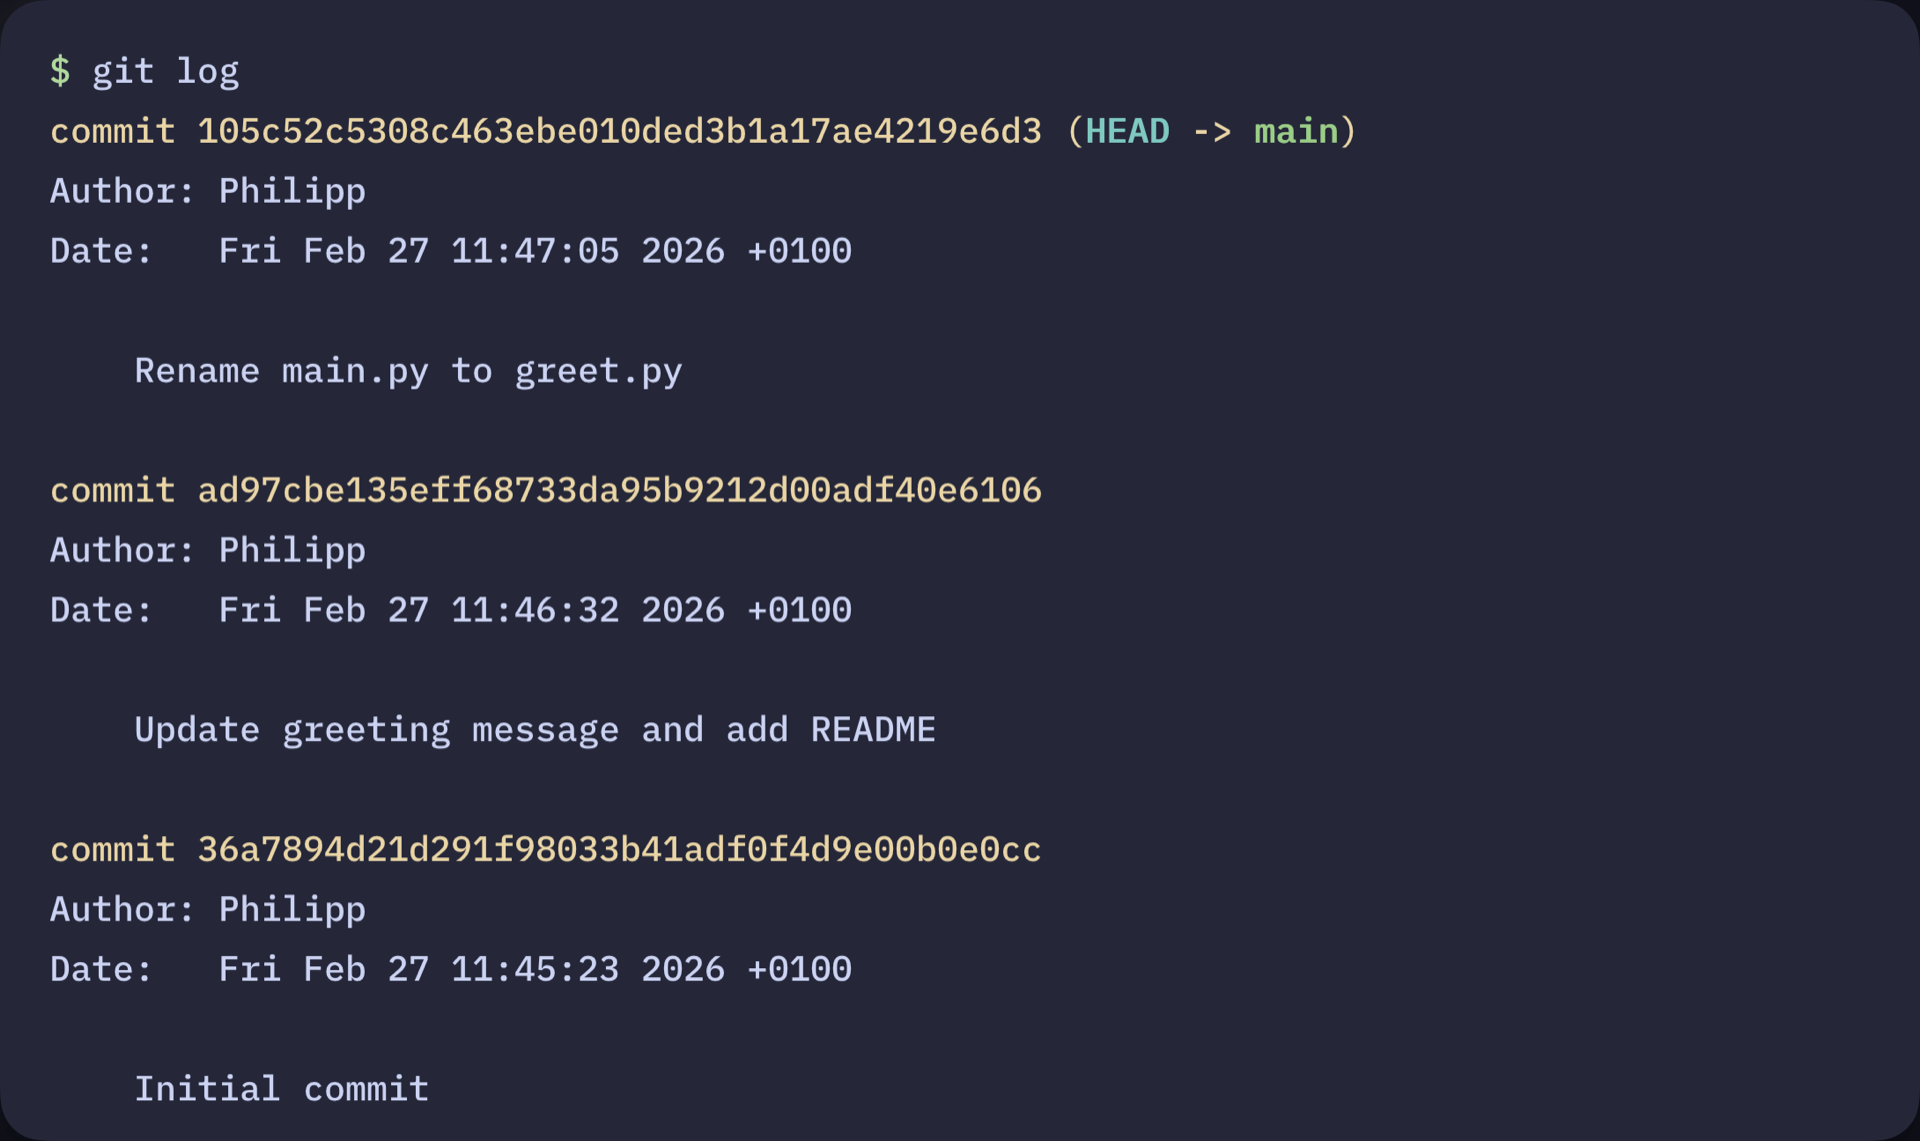
The following sections guide you through creating your repository and building that history step by step. Before diving in, grab a Git cheat sheet to keep essential commands within reach:
Get Your Cheat Sheet: Click here to download your free Git cheat sheet and keep the core Git workflow, essential commands, and commit tips at your fingertips.
Take the Quiz: Test your knowledge with our interactive "How to Use Git: A Beginner's Guide" quiz. You'll receive a score upon completion to help you track your learning progress:
Interactive Quiz
How to Use Git: A Beginner's GuideTest your knowledge of Git basics: initializing repos, staging files, committing snapshots, and managing your project history.
How to Use Git: Prerequisites
Before tracking code with Git, verify you have the necessary tools. This tutorial expects familiarity with command-line interfaces and basic Python concepts.
You'll need:
- A terminal or command prompt
- Python 3.10 or higher installed on your system
Note: Git and GitHub are often confused, but they're not the same thing:
- Git is version control software that runs on your computer. It tracks changes to your files and manages your project's history locally.
- GitHub is an online platform for hosting Git repositories. It provides collaboration tools that make sharing code, working with teams, and backing up your projects easier.
You don't need a GitHub account to use Git or follow this tutorial. Later, if you want to share your code with others or back it up online, you can optionally push your Git repository to platforms like GitHub, GitLab, or Bitbucket.
To learn more about the differences between Git and GitHub, check out Introduction to Git and GitHub for Python Developers.
With these requirements met, you're ready to install Git and start tracking changes. The next step covers Git installation, preparing your Python files, and initializing your first repository.
Step 1: Install Git and Prepare Your Project
First, verify Git is installed on your system, set up a basic project, and initialize a Git repository to begin tracking changes immediately.
Check Whether Git Is Already Installed
Before using Git, confirm it's installed on your machine. Git often comes pre-installed on many systems. Run this command to check:
$ git --version
If the command returns a version number, you're set and can create a project directory. If not, you'll need to install Git before proceeding.
Install Git on Your System
Git provides installers for Windows, macOS, and Linux on its official website, making installation straightforward across platforms. Since installation varies by operating system, this guide links to official documentation rather than duplicating those instructions.
If you prefer graphical tools, install a Git client like GitHub Desktop, Sourcetree, or GitKraken. These applications bundle Git and install it automatically during setup.
After installation, open your terminal and verify Git is available:
$ git --version
git version 2.24.0.windows.2
Your version number may differ based on your operating system and installation date. That's expected. As long as Git runs successfully, you can continue with the tutorial without issues.
Set Up Your Git Identity
Read the full article at https://realpython.com/how-to-use-git/ »
[ Improve Your Python With 🐍 Python Tricks 💌 – Get a short & sweet Python Trick delivered to your inbox every couple of days. >> Click here to learn more and see examples ]